
Console setup
This guide is a step-by-step introduction for new users to the Ubiqio platform. We will walk you through setting up all the required configuration to send your first message! The estimated time to complete this guide is 20 minutes. If you have any questions, please reach out to [email protected].
Log in to the dashboard
Log in using the details that were emailed to you.
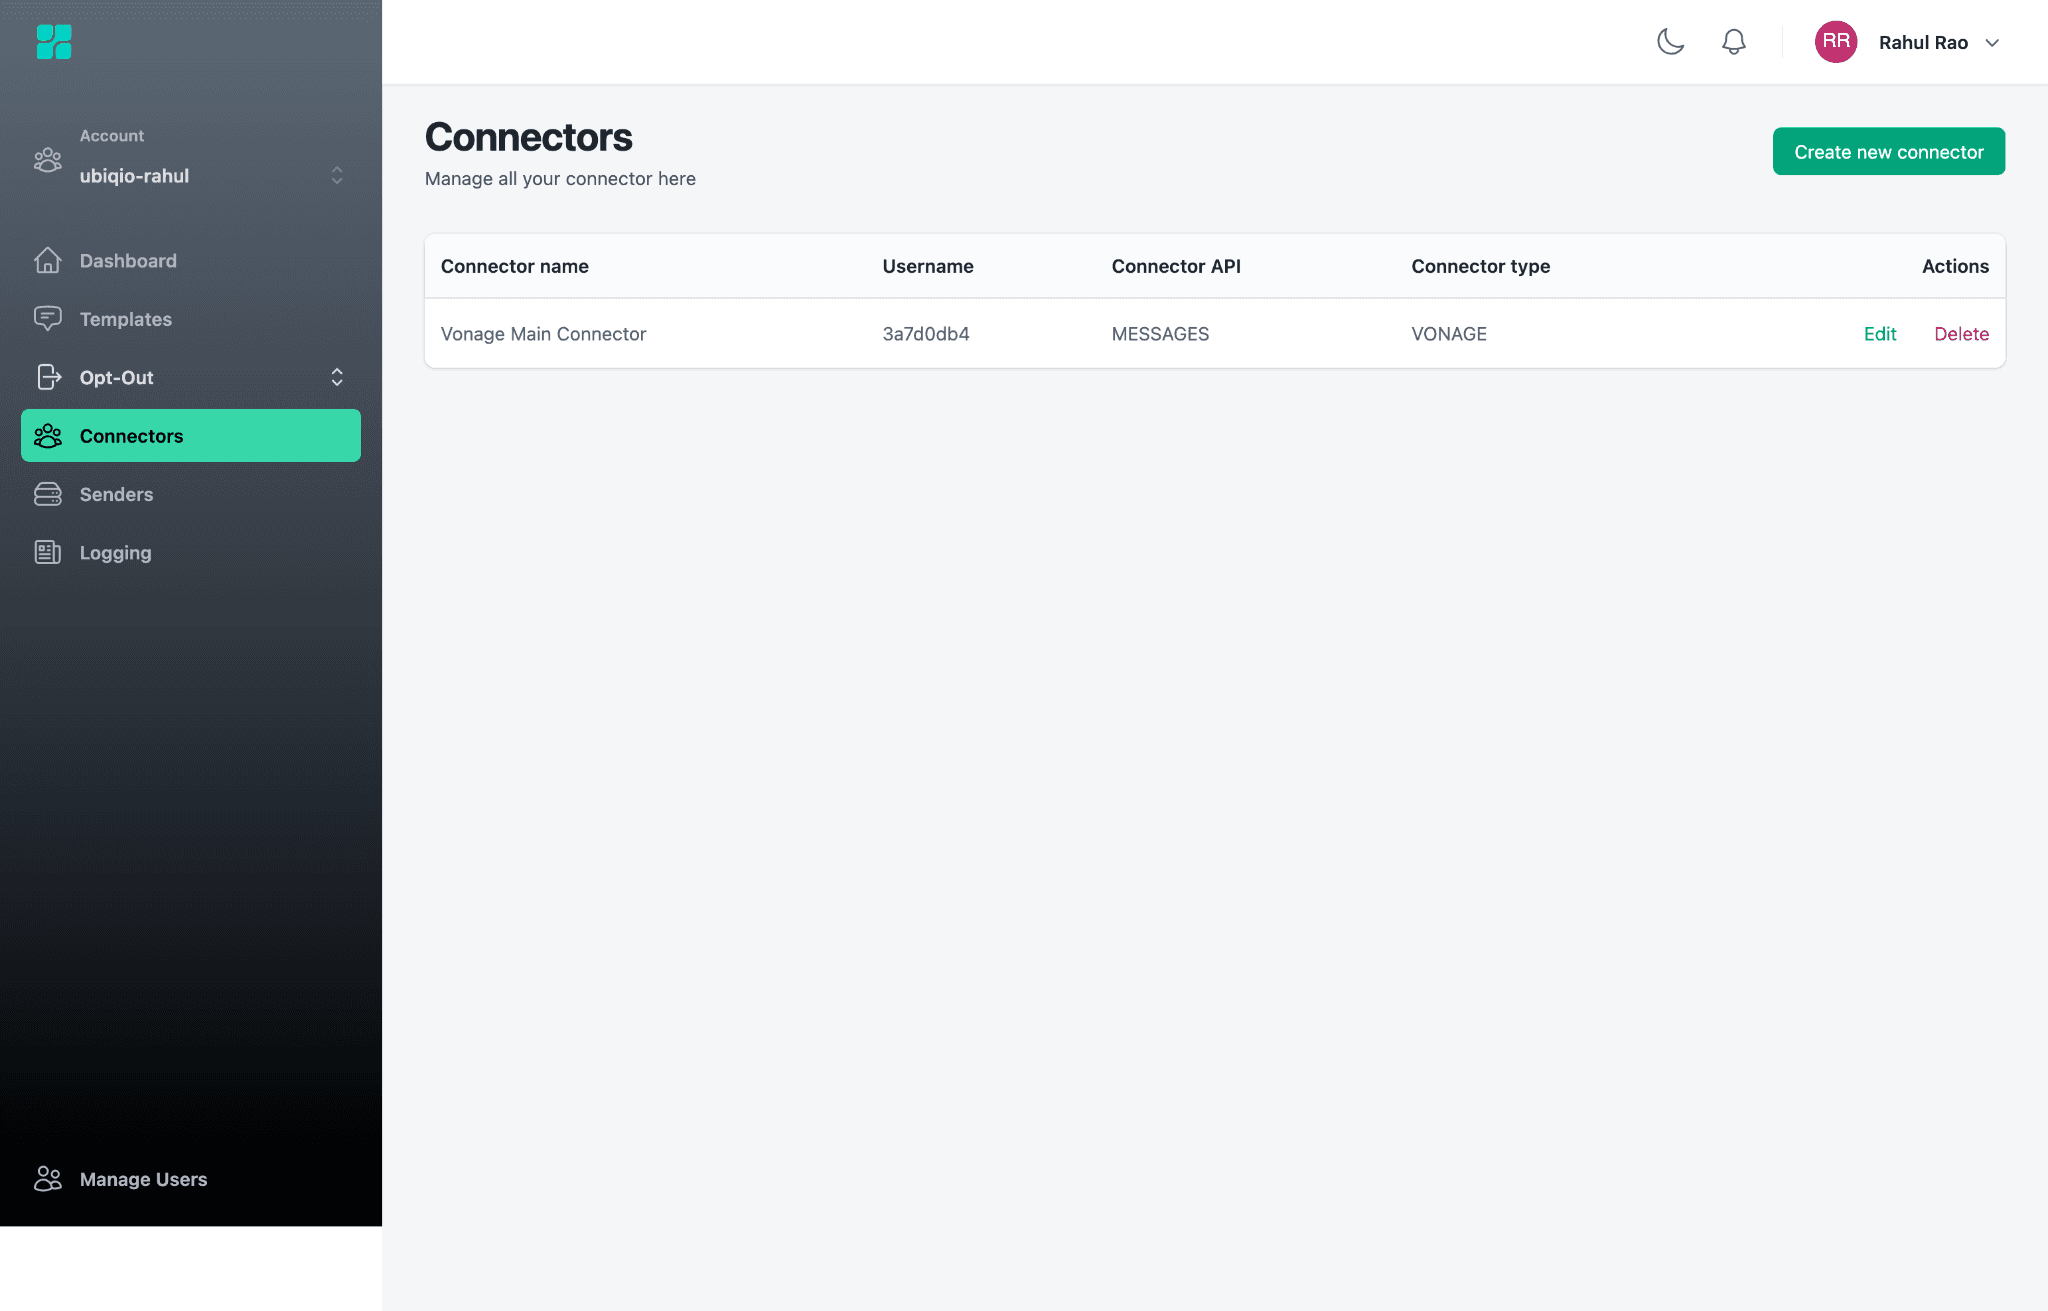
Create a Connector
The connector serves as the bridge between Ubiqio and your message delivery vendor of choice. As of today, Vonage and Twilio are the two supported vendors.
Note: You must already have an account on the vendor of your choosing before creating this connector.
Navigate to the connectors menu on the side navigation bar.
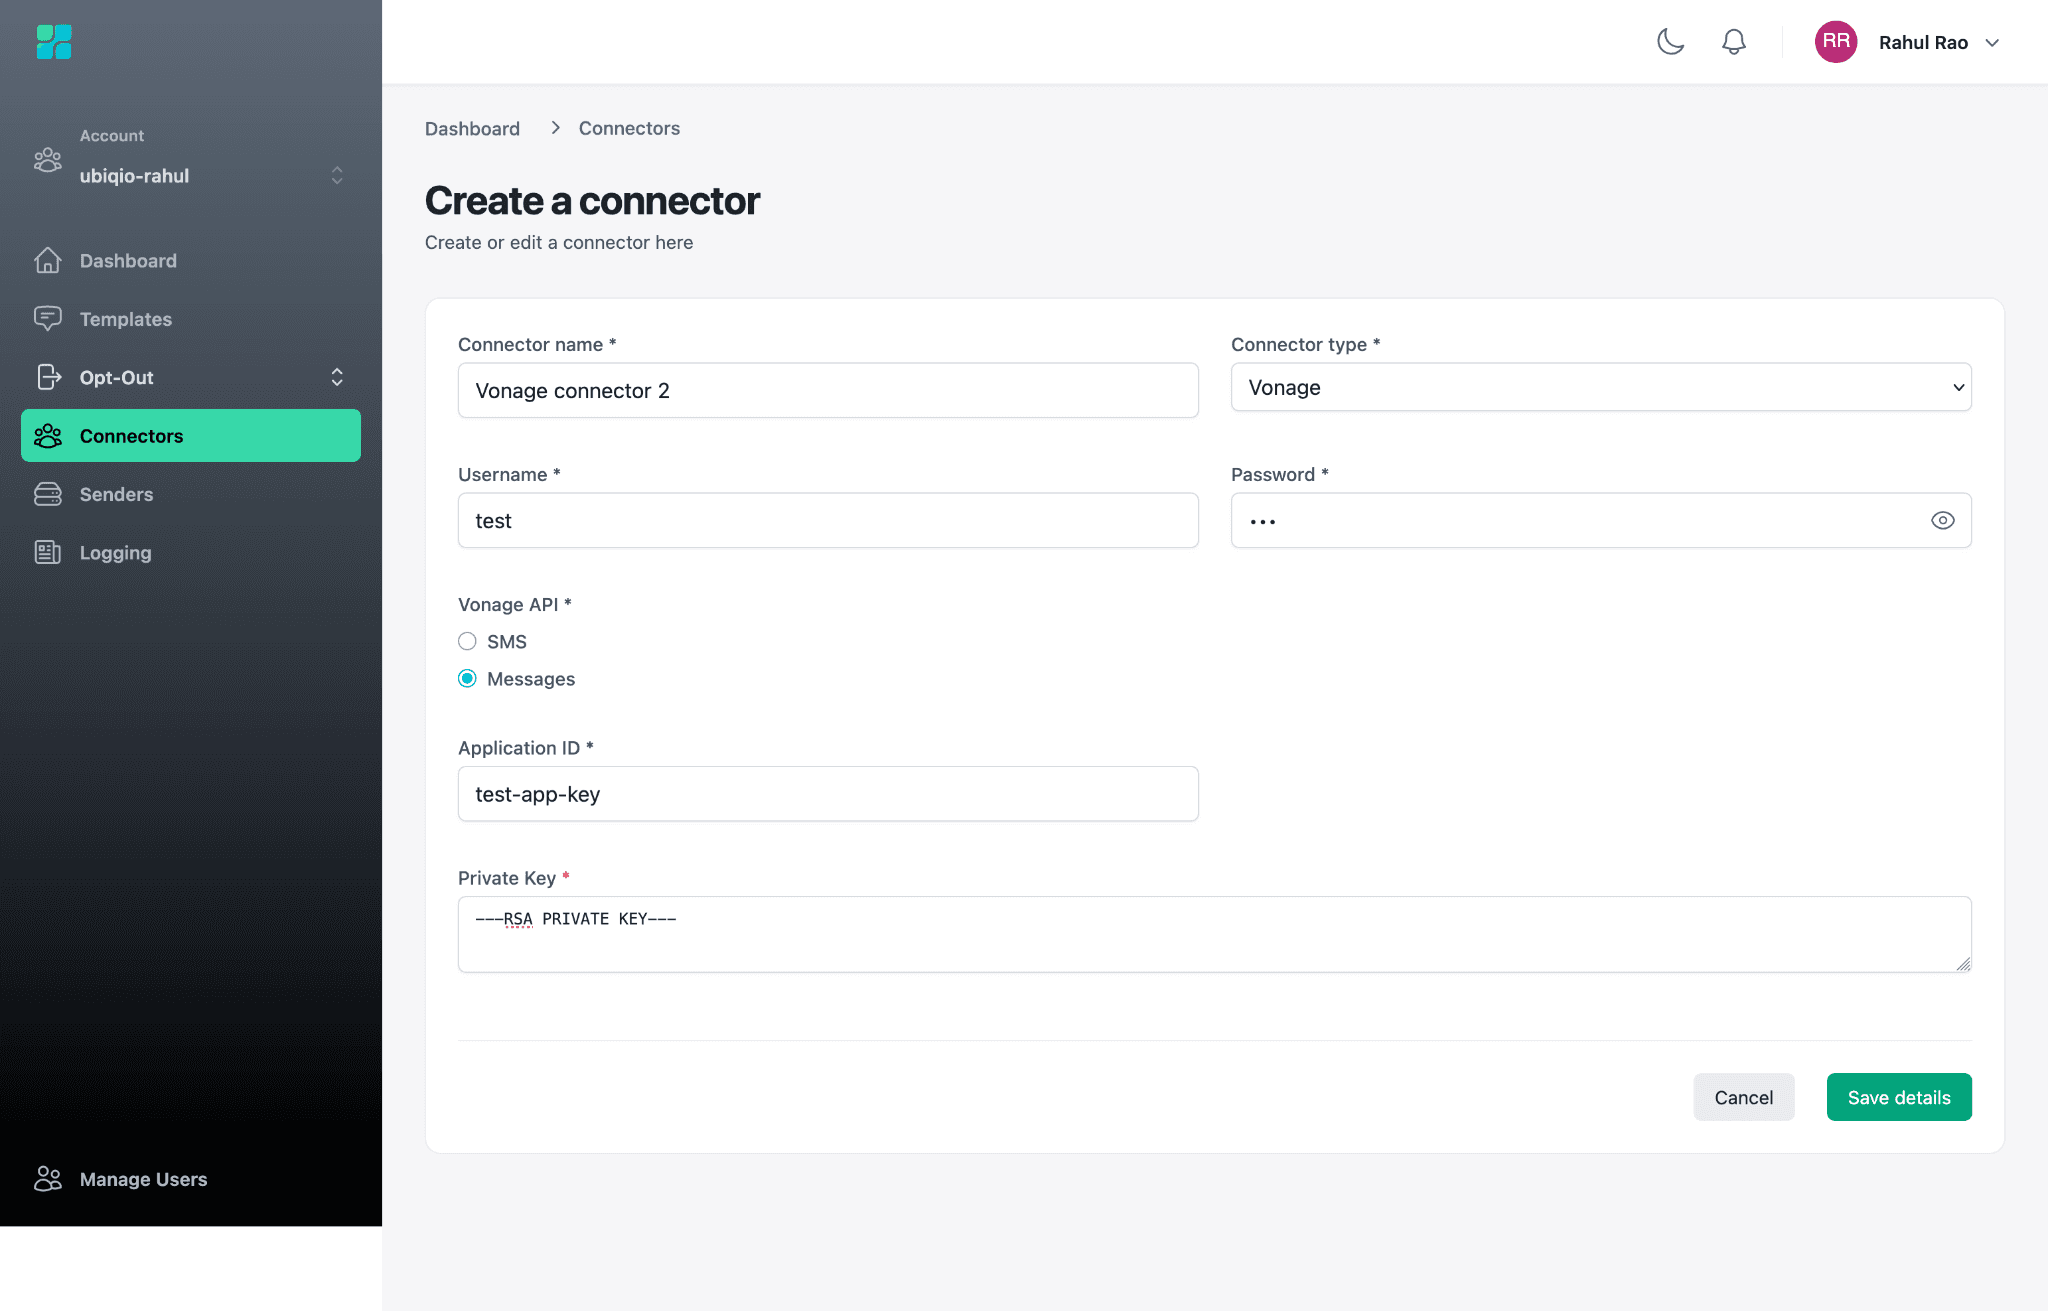
Fill in the required information
Connector name: This is the user-facing name of the connector on the Ubiqio platform.
Connector type: The platform this connector will interface with.
Username: The API key from your platform account.
Password: The API secret from your platform account.
Vonage API: Specific to the Vonage connector type. You may choose to use the Vonage SMS or Messages API. If you use the Messages API, you will need to enter your Vonage Application ID and Private Key in addition to your API key and secret. Your private key is inside the file that was downloaded when you configured your Vonage application.
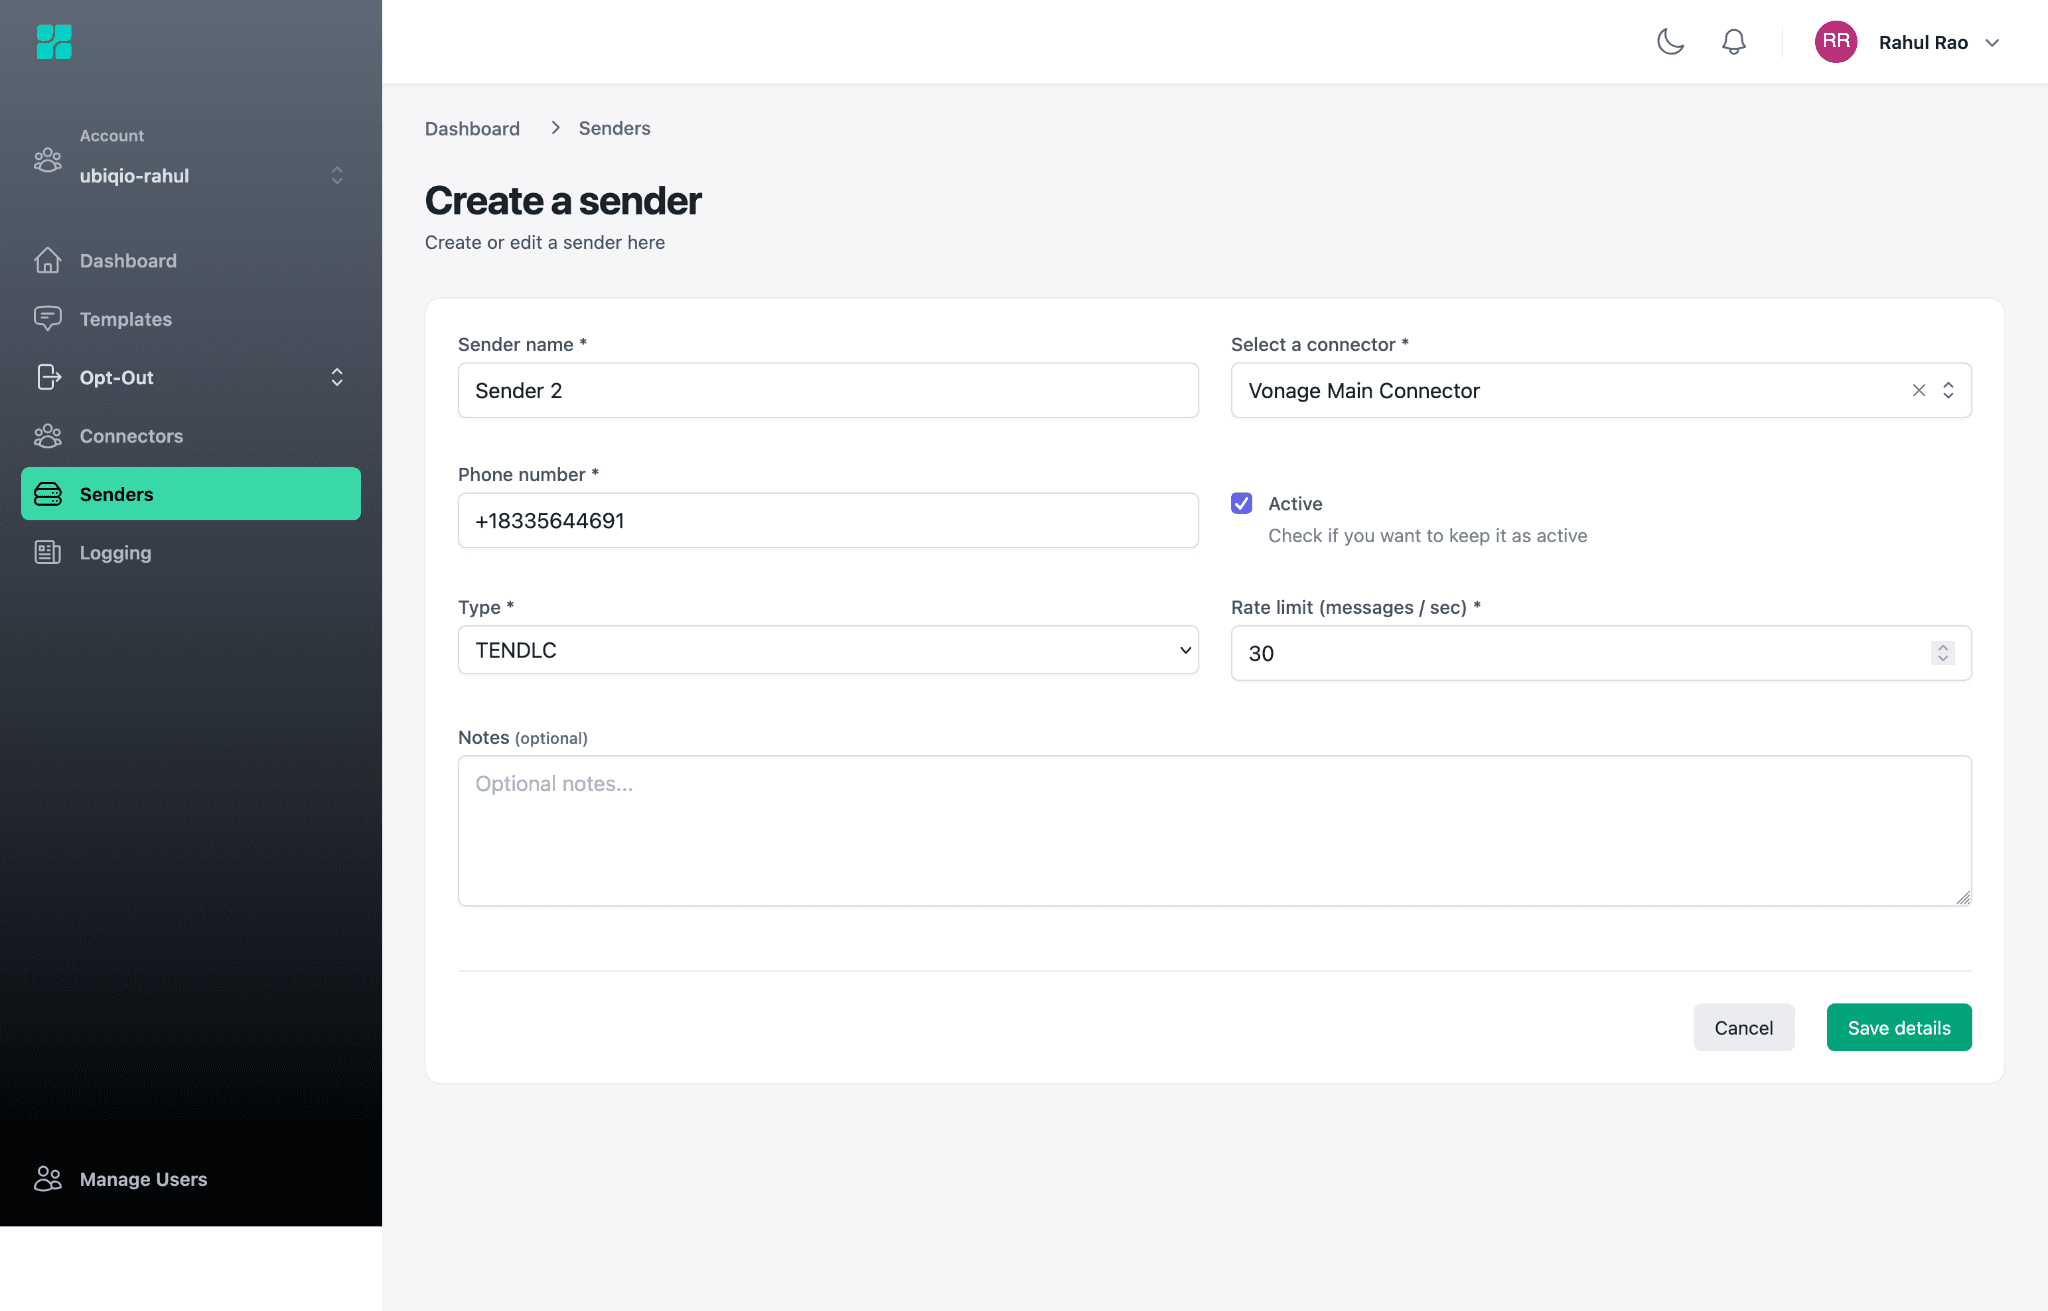
Create a Sender
With a connector ready, we can proceed to create a sender. The sender is the phone number that will be used to deliver messages.
Note: You must already have a phone number registered with your message delivery platform of choice. It must be the same platform that you specified in the connector that you just created.
Navigate to the Senders menu on the side navigation bar.

Fill in the required information:
Sender name: The user-facing name of the sender on the Ubiqio platform.
Connector: Select the connector this sender will be associated with.
Phone number: Provide the full phone number, including the country code.
Type: Select the type of number provided.
Rate limit: The maximum number of messages per second that this sender is allowed to handle.
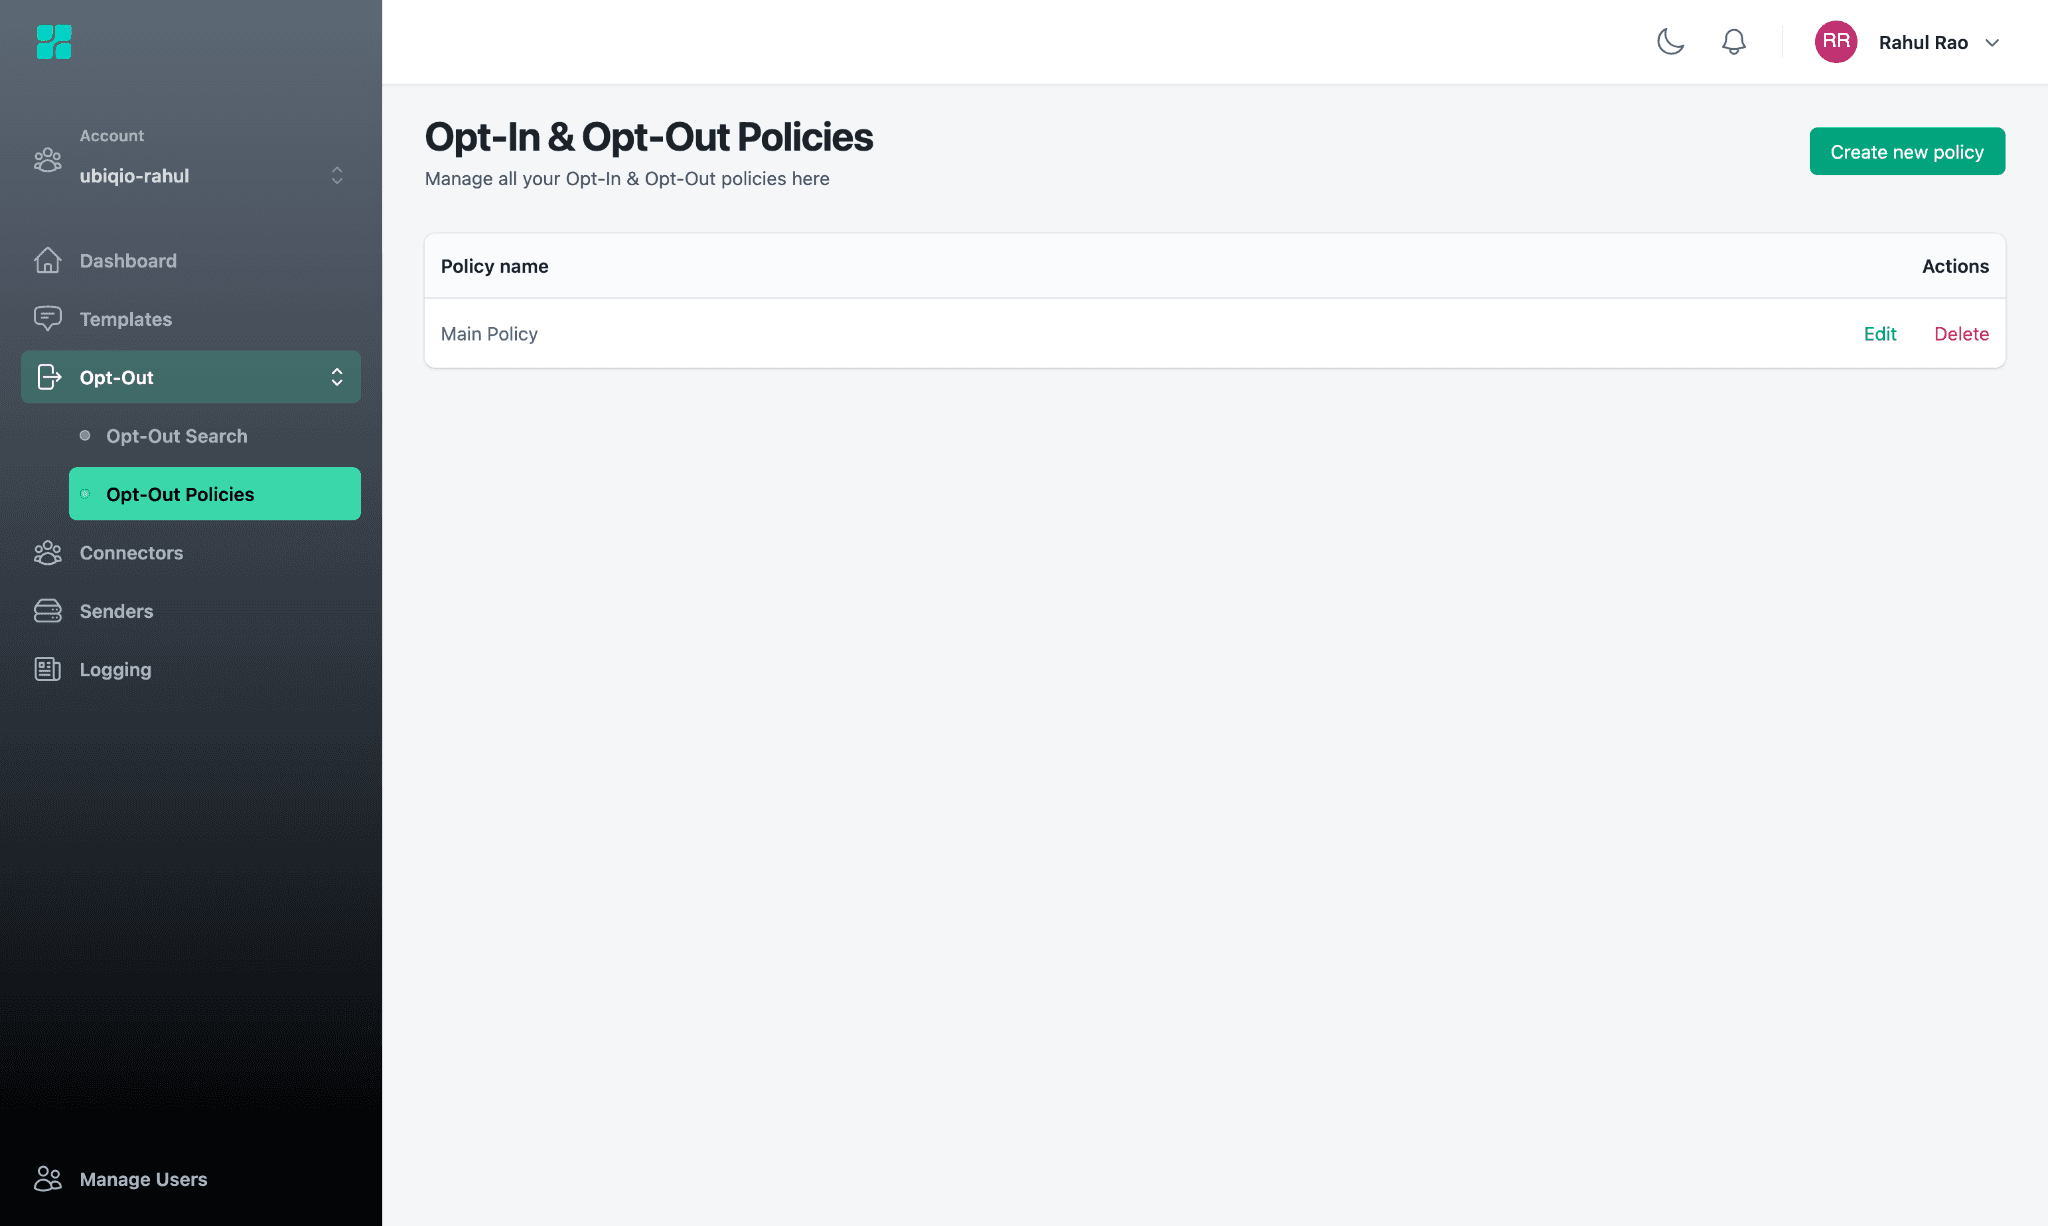
Create an Opt-Out Policy
Opt-Out policies define keywords that are used to either stop or restart delivery of messages to a client. They are mandatory in most jurisdictions across the world but the exact requirements for keywords vary from country to country.
Navigate to the Opt-Outs > Opt-Out policies section of the side navigation menu. Click create new policy at the top right.
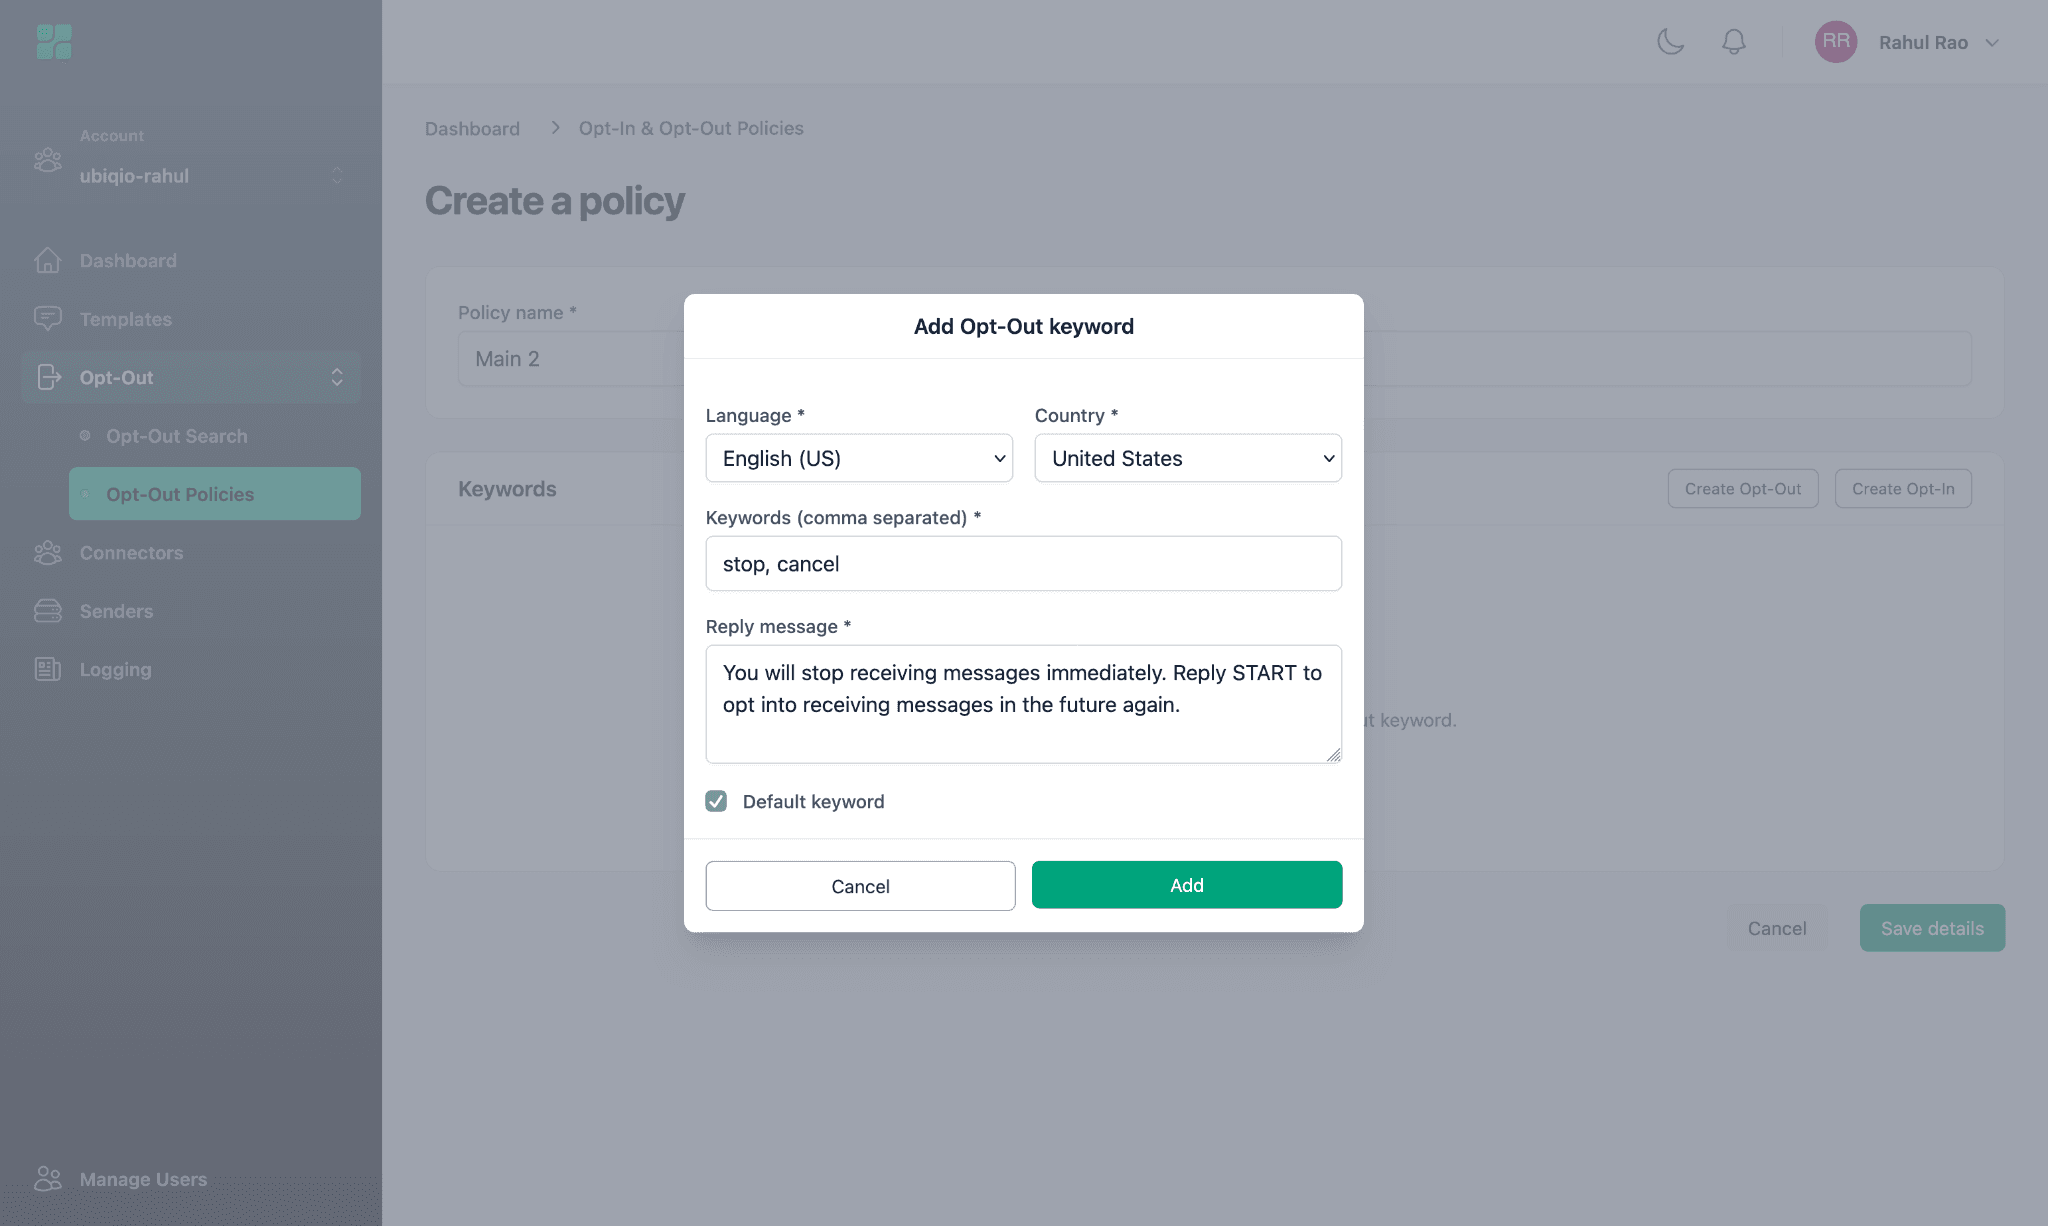
Define an Opt-Out Policy:
Language: The language the keywords are written in.
Country: The country within which these keywords will be applied.
Keyboards: A comma separated list of keywords used to signal an opt-out. These are not case sensitive.
Reply message: The message that will be sent to the customer when an opt-out signal is received.
Default: When checked, the opt-out keywords defined will be used as a fallback in case a keyword with a matching language or country is not defined.
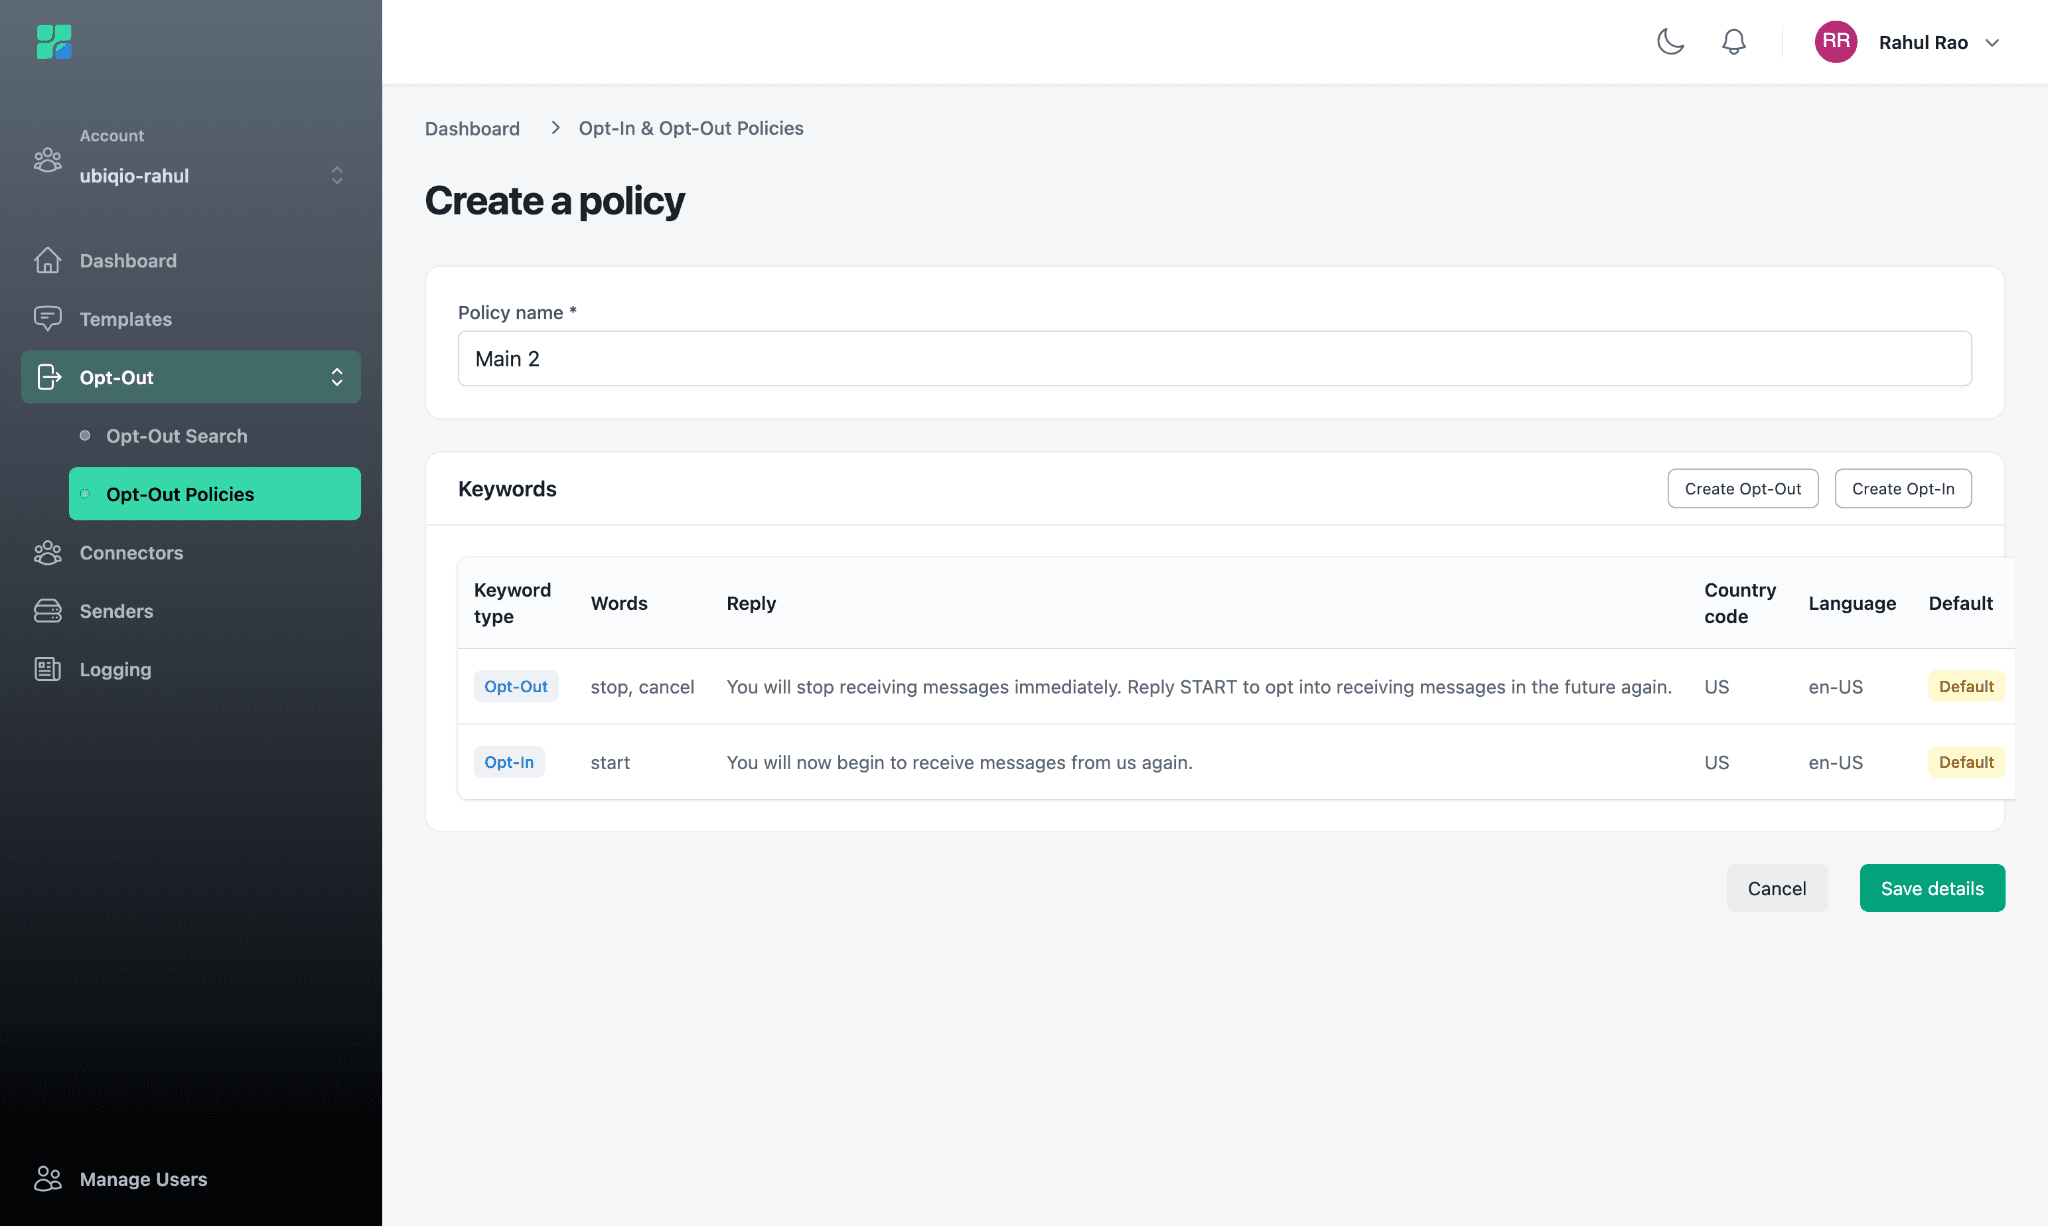
Define an Opt-In Policy the same way you defined the opt-out policy. This policy will define the keywords that clients can use to opt back into receiving messages.
Finally, save the policy using the save details button.
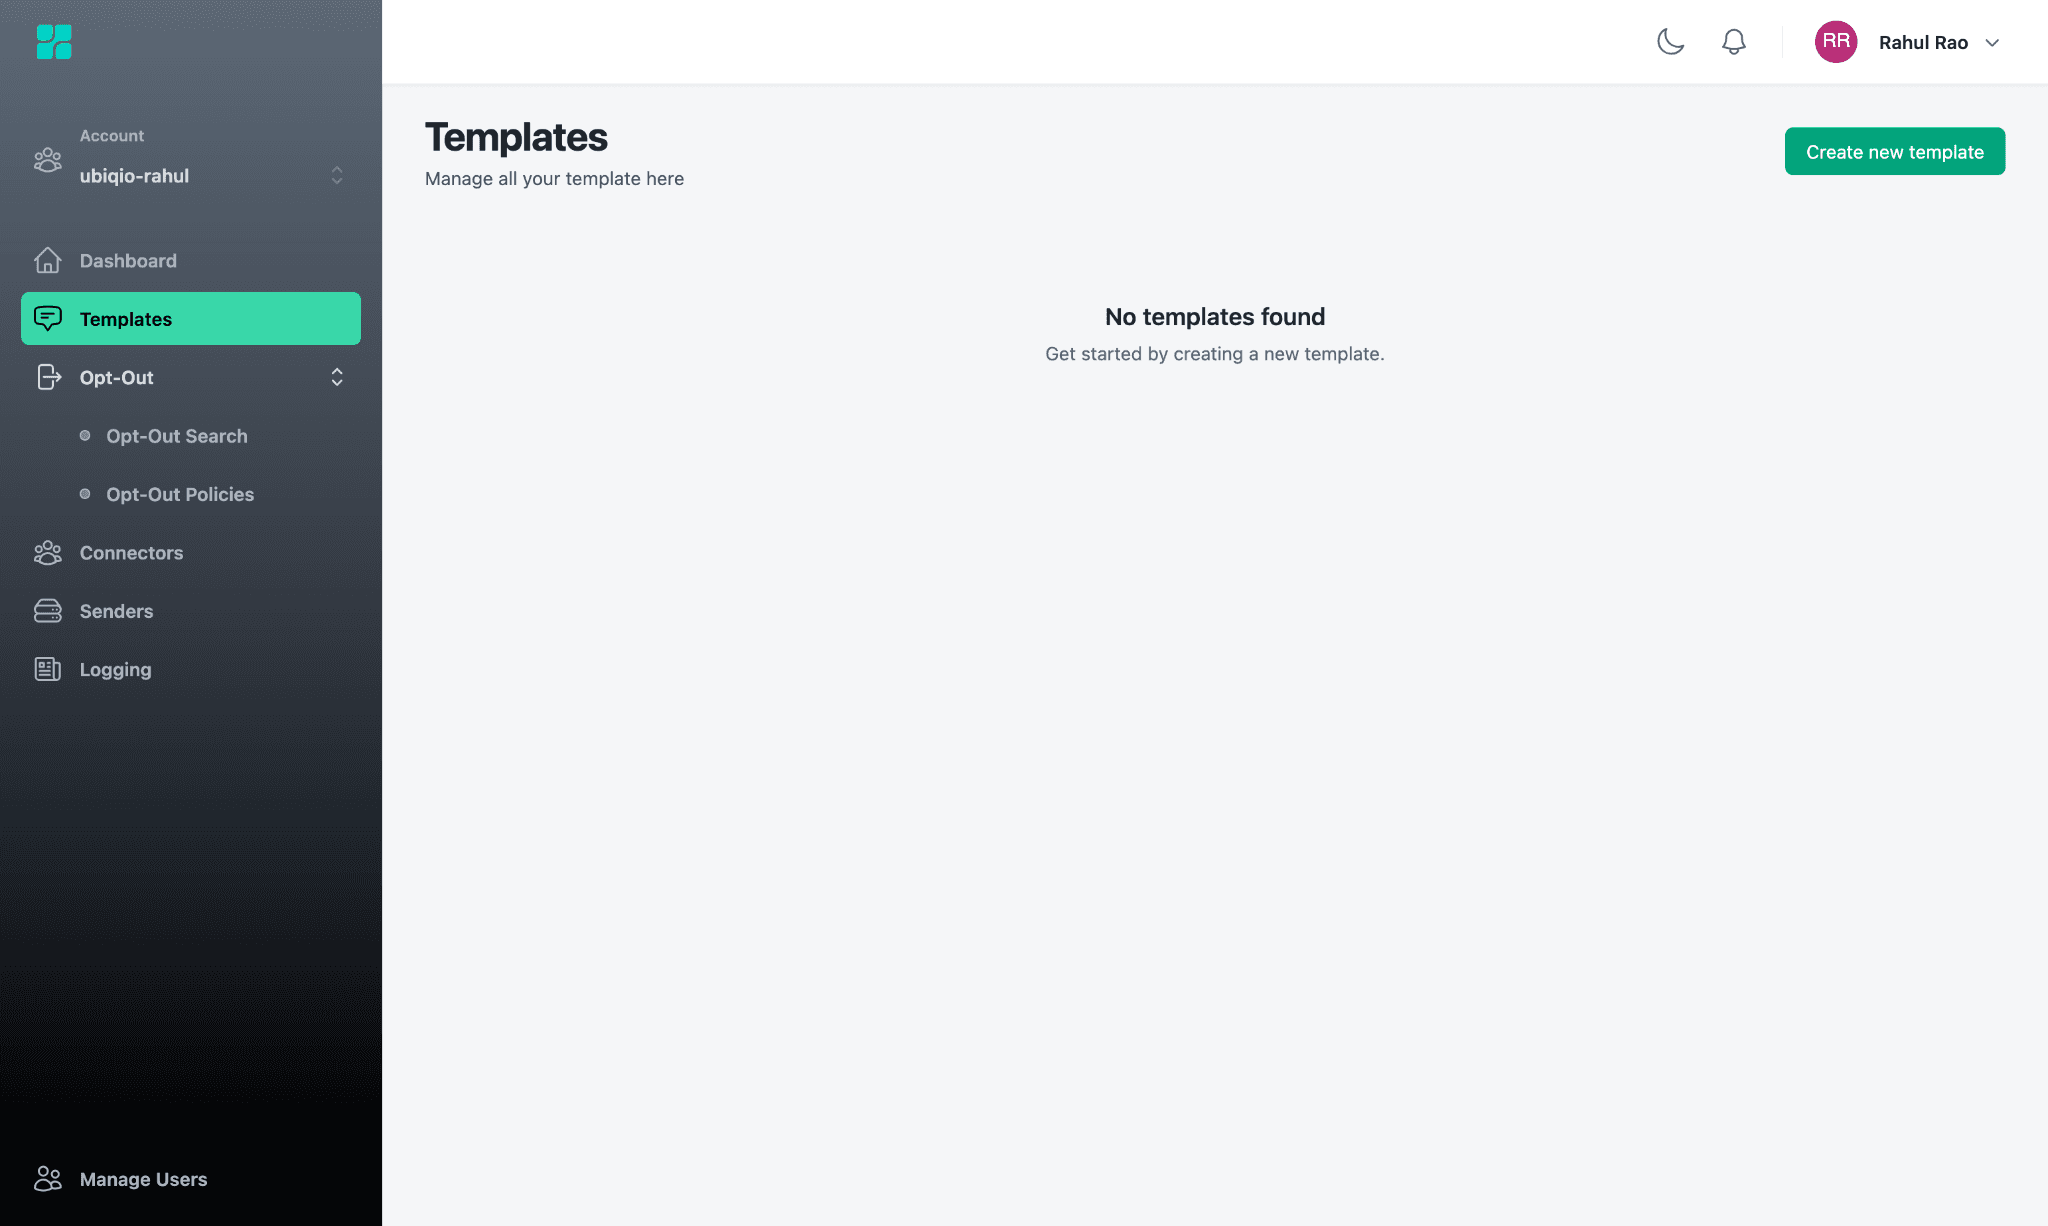
Create a template
In this last step, we will create a template. A template is a Ubiqio specific umbrella that ties together your opt-out policies, senders, and connectors into one unit.
Navigate to the templates section in the side navigation menu. Click “Create new template” in the top right corner.
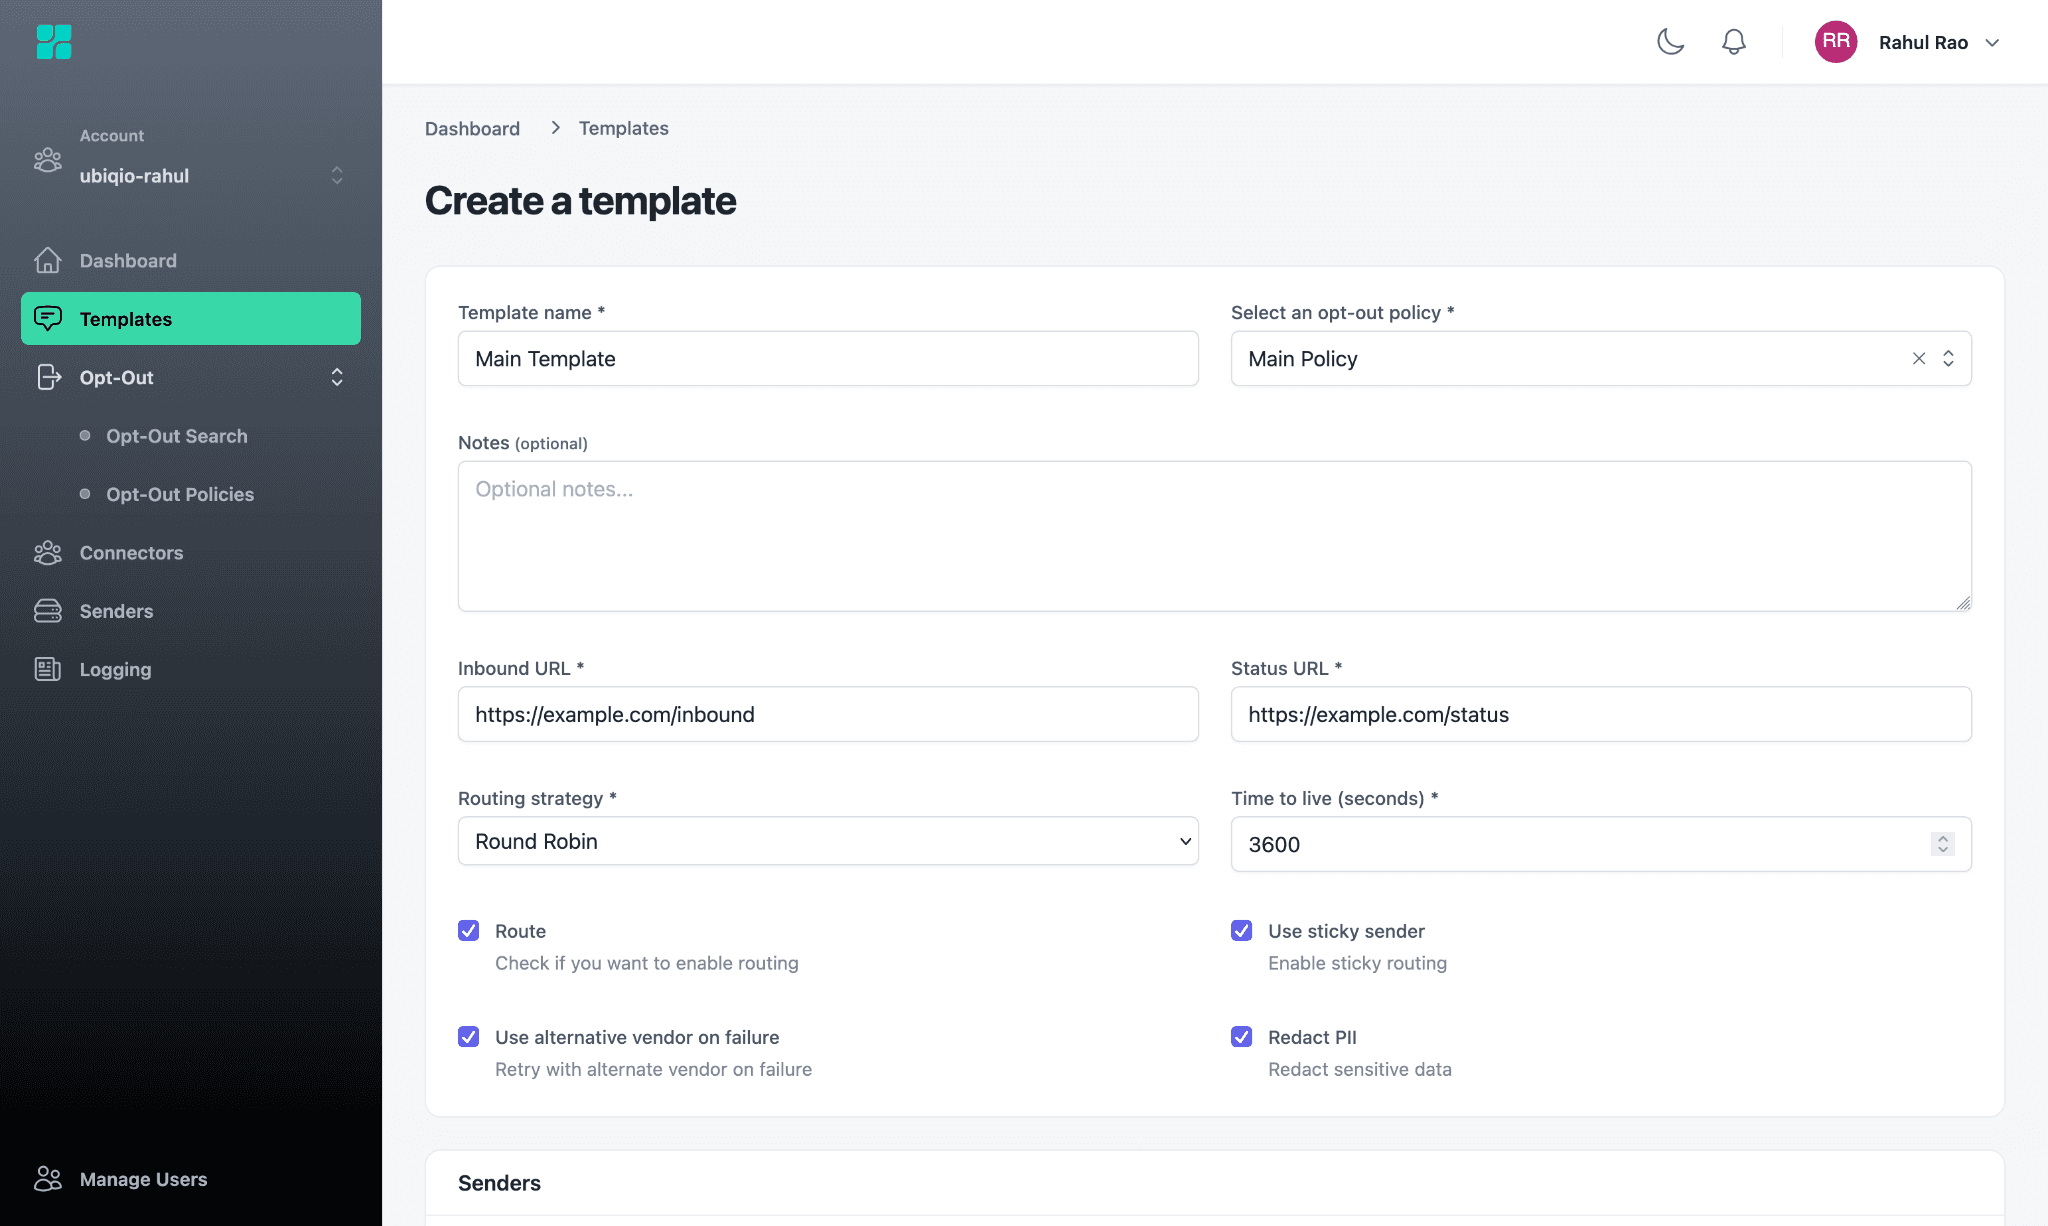
Add basic template information:
Template name: The user-facing name of the template.
Opt-out policy: Select an opt-out policy that Ubiqio will use for this template.
Inbound URL: This is the endpoint that will handle inbound webhooks in your application.
Status URL: This is the endpoint that will handle status update webhooks in your application.
Routing Strategy: Select your preferred routing strategy. Strategies available include:
Split: Ubiqio will send a certain percentage of messages through each sender. You can configure this percentage in each sender you add to the template.
Round Robin: Ubiqio will send each subsequent message to a new provider sequentially, and repeat once all senders have been used.
Round Robin by number: Ubiqio will send each subsequent message to a new phone number (regardless of what provider it uses), and repeat once all numbers have been used.
Time To Live: The maximum number of milliseconds the message will live until it expires. For example, you may only want an OTP message to live for five minutes, whereas a marketing message can live for an hour (or more).
Select any additional options (the behaviors enabled by these options will override the routing strategy if required):
Route: When checked, the template is activated and Ubiqio will route messages as defined in the template configuration.
Use sticky sender: If a client has already been contacted once, Ubiqio will try to use the same phone number to contact them again.
Use alternative vendor on failure: If one vendor is not available, Ubiqio will switch to another vendor regardless of how a client was previously contacted.
Redact PII: Ubiqio will redact any identifying information before sending message responses to your application.
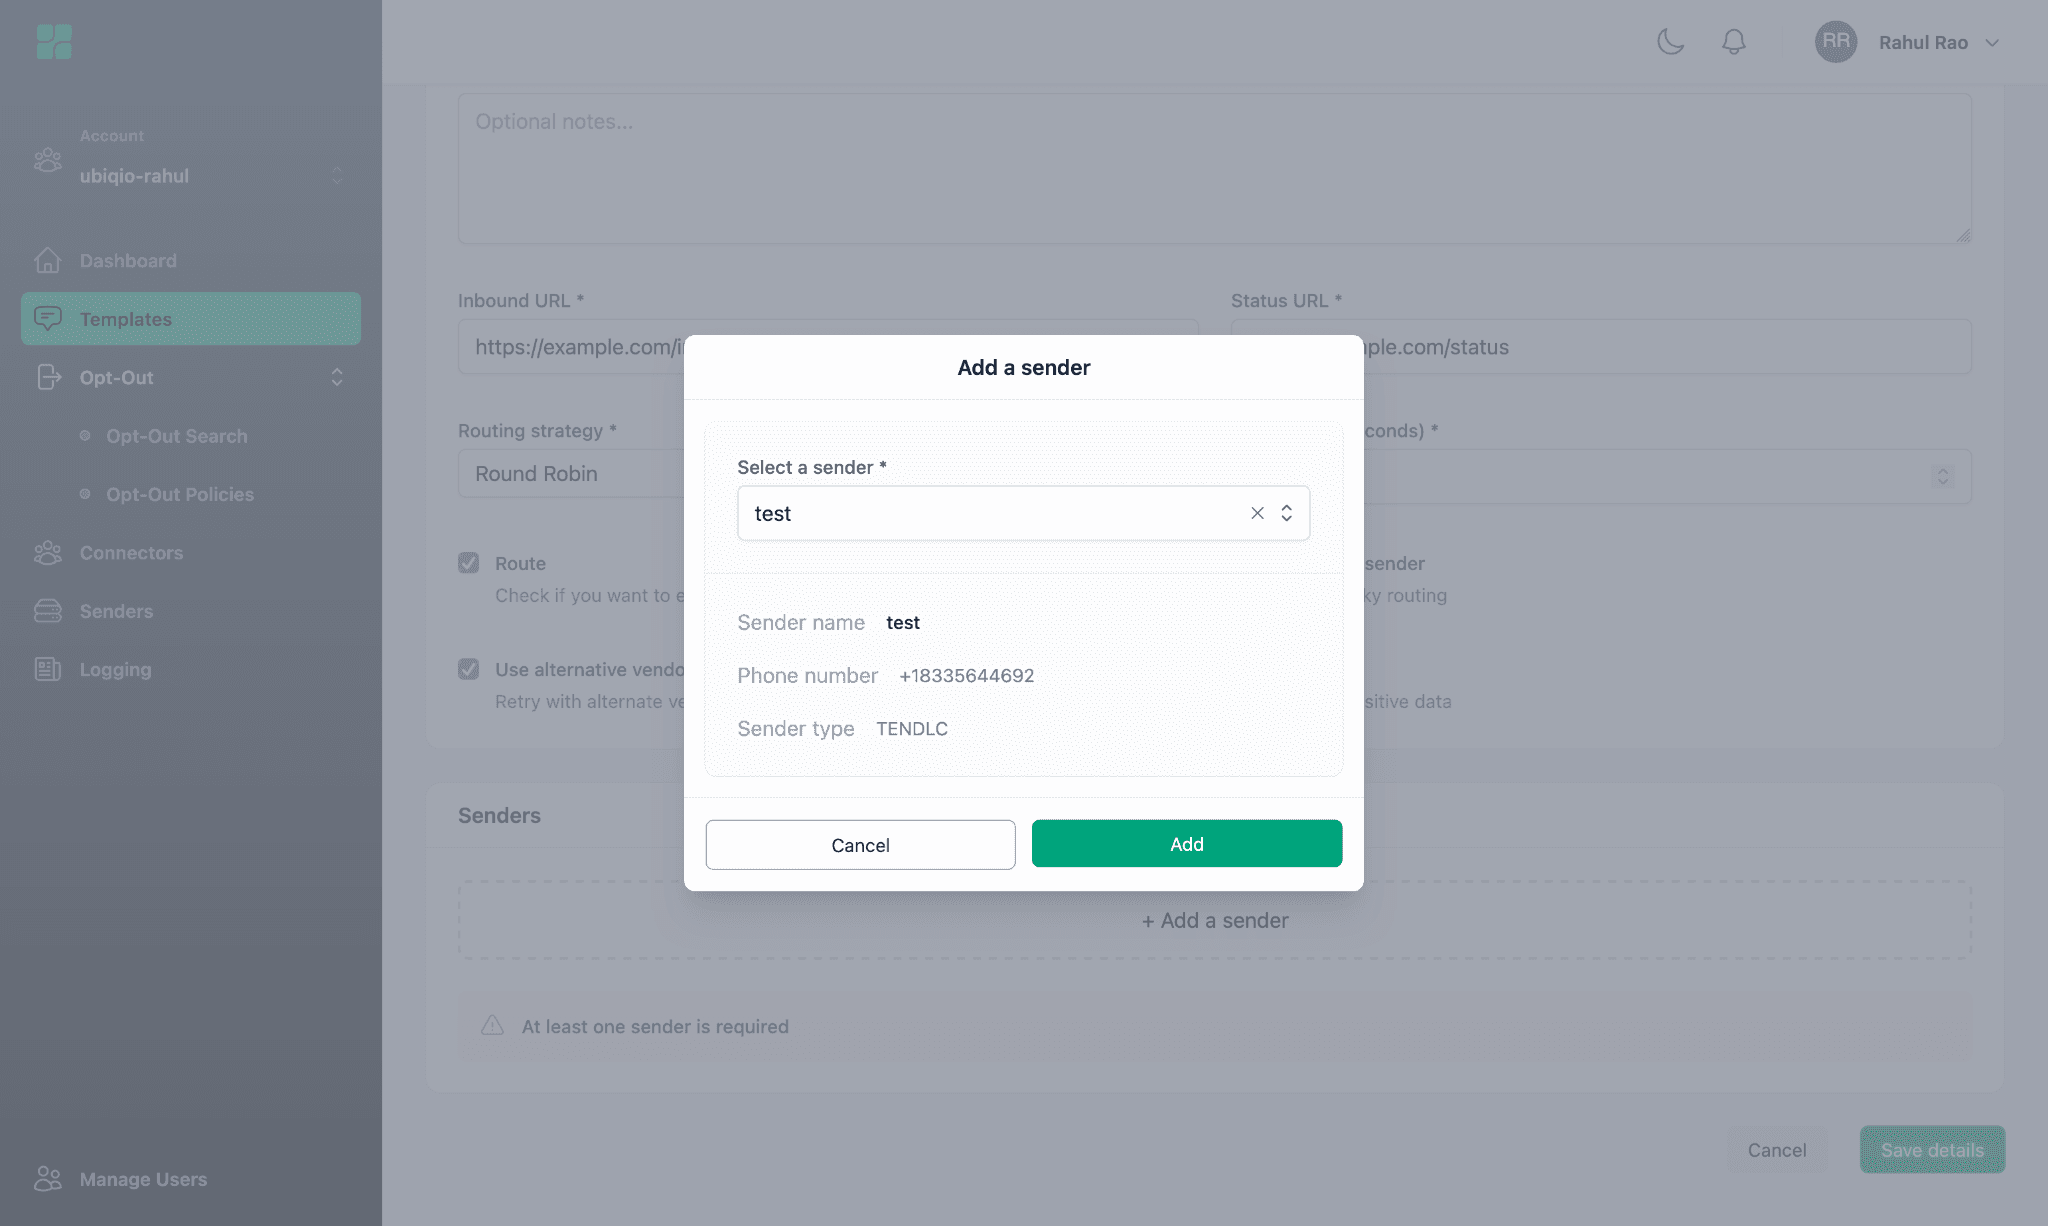
Under the senders subsection, click add a sender. Select the sender you wish to add. Note that you can add multiple senders. Ubiqio will automatically select the optimal sender to deliver a particular message based on internal metrics and the routing strategy selected earlier.
Save the Template
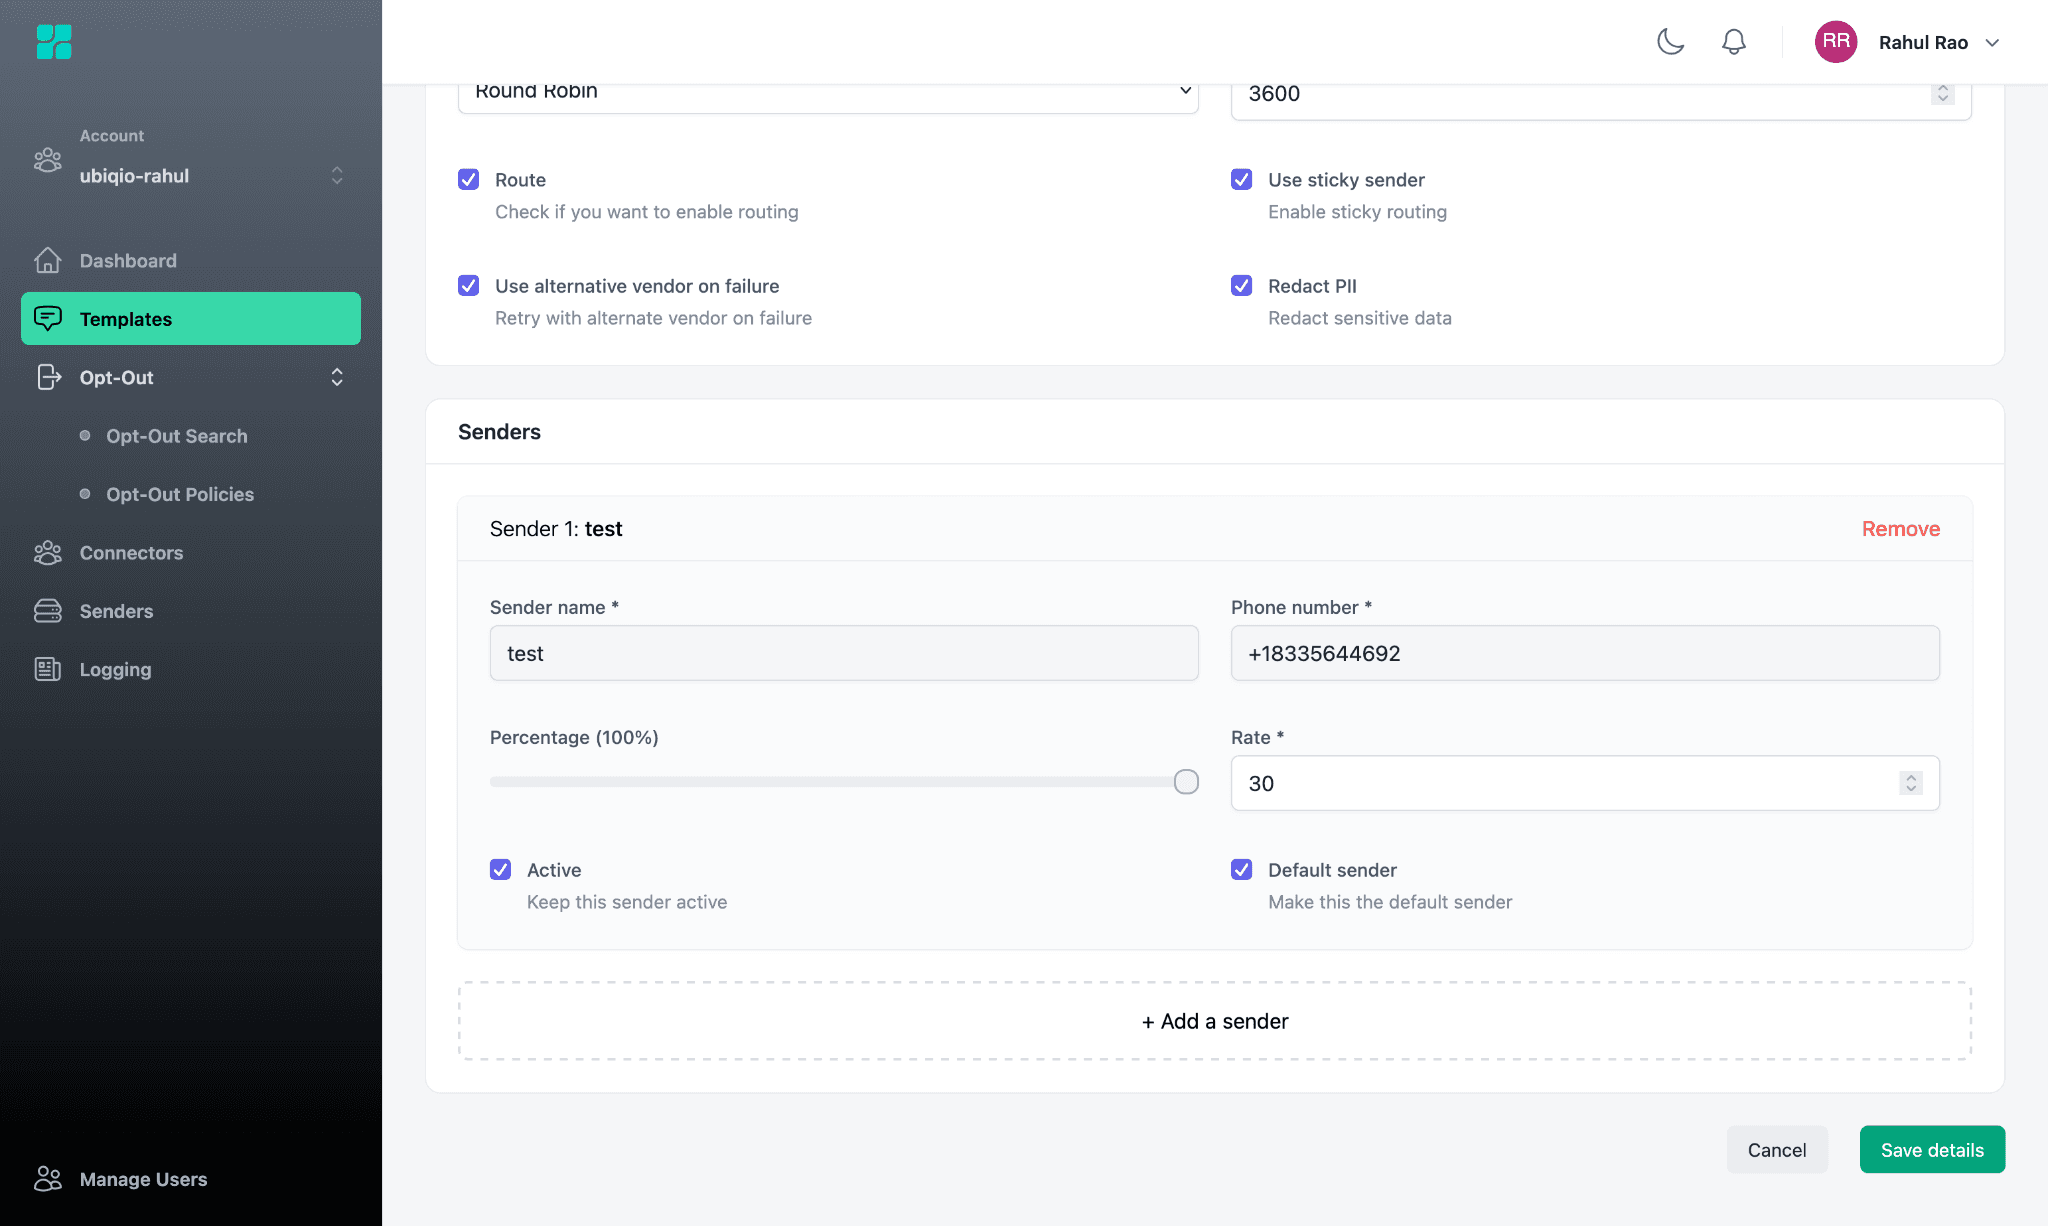
You’re now ready to send messages through Ubiqio! Refer to the documentation here to begin sending messages using the Ubiqio API.
Happy messaging!
Ubiqio.