
Configuring Vonage
In this guide, we will walk through configuring a Vonage application to interface with Ubiqio. This should take no more than 10 minutes to complete. If you have any questions, please reach out to [email protected].
Note: This guide assumes that you already have:
A Vonage account
A positive balance on your account
A phone number registered and available for use
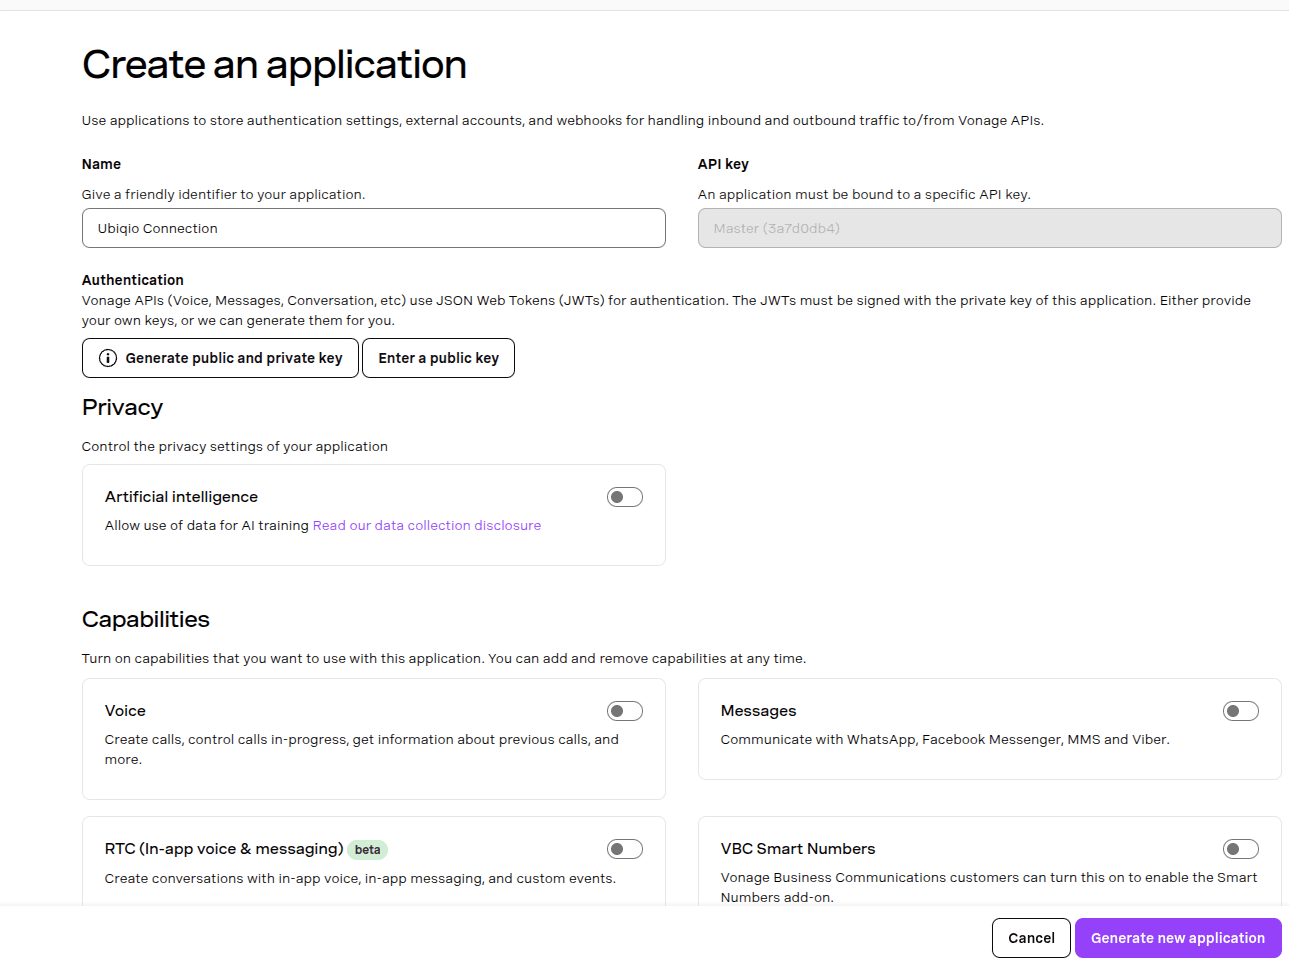
Create an Application
Log in to the Vonage dashboard. Navigate to “Applications” under the “Build” subsection of the side navigation bar. Then click “Create a new application”.
Give your rapplication a name.
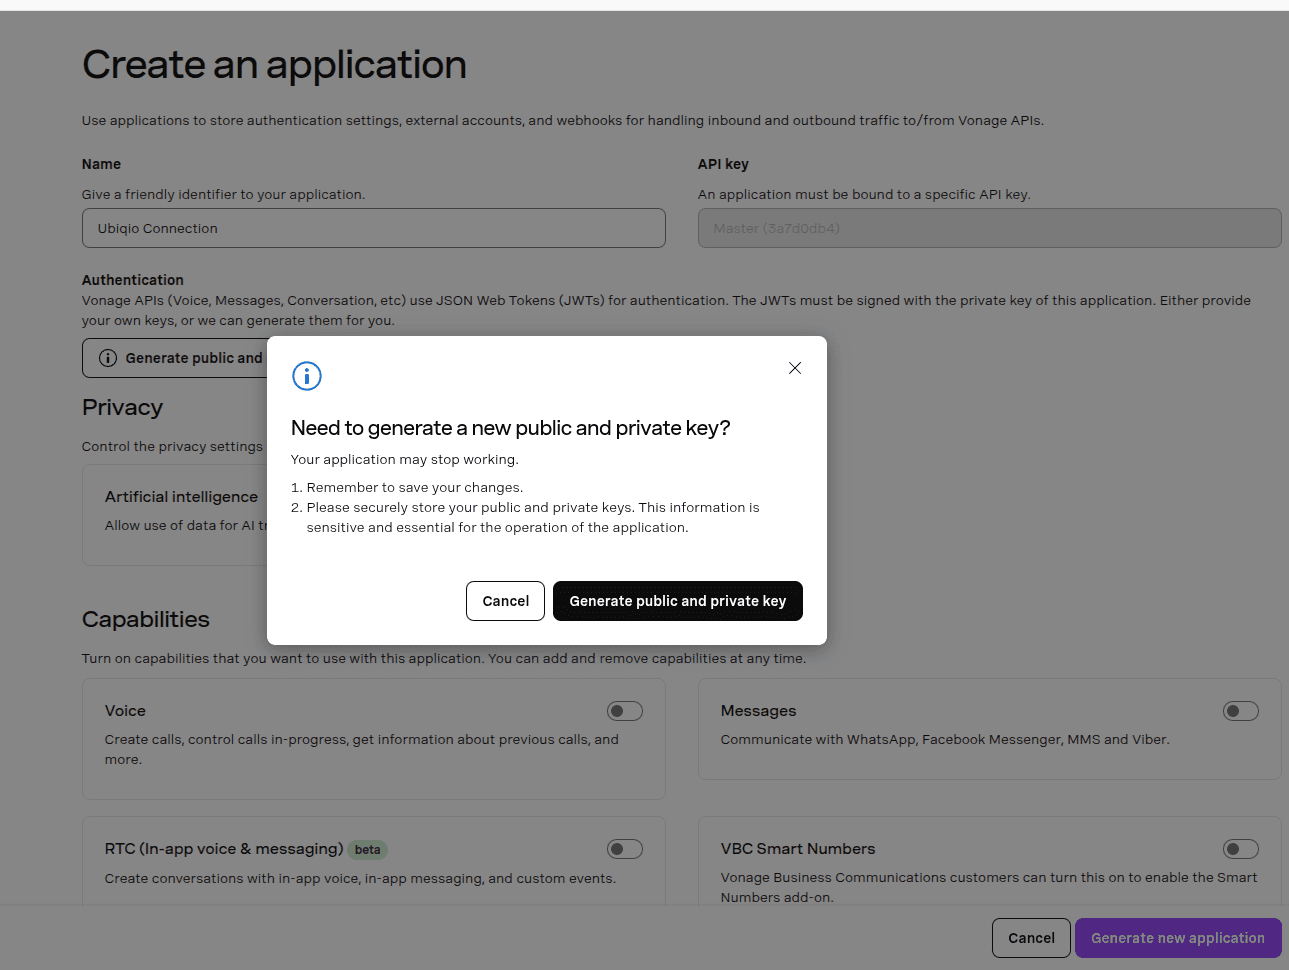
Generate a key pair
Ubiqio and Vonage handle authentication via public and private keys. Click on “Generate public and private key” to create a new key pair.
Note: If you generate a new key pair after configuring Ubiqio, you will need to update the keys in the Ubiqio console. Failure to do so will result in messages failing to send via your Vonage account.
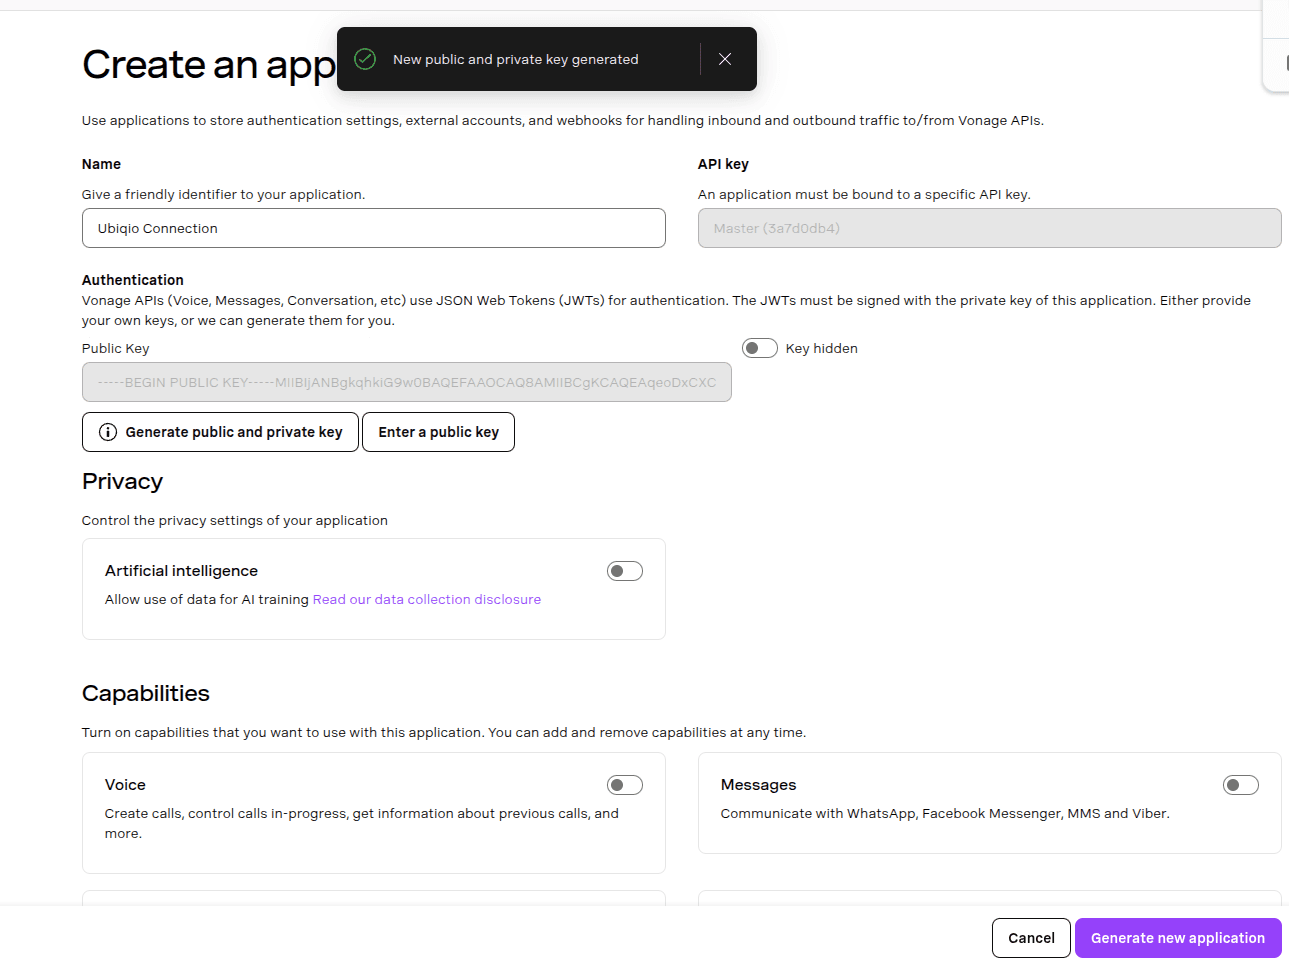
Once you confirm the generation of a key, a file will be downloaded to your device. Note the location of the downloaded file. You will need this later when configuring the Vonage connector on the Ubiqio console.
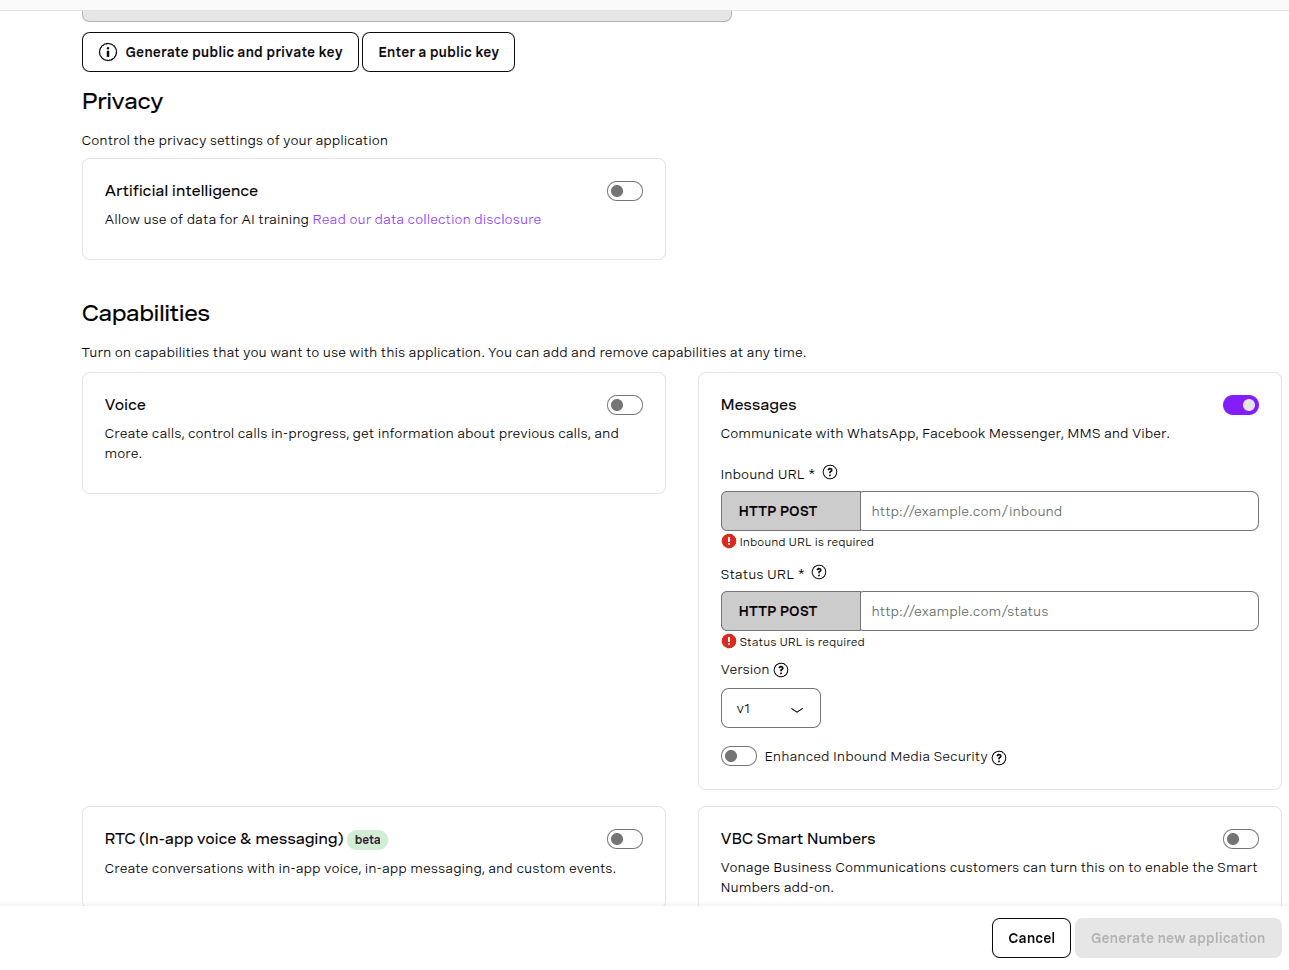
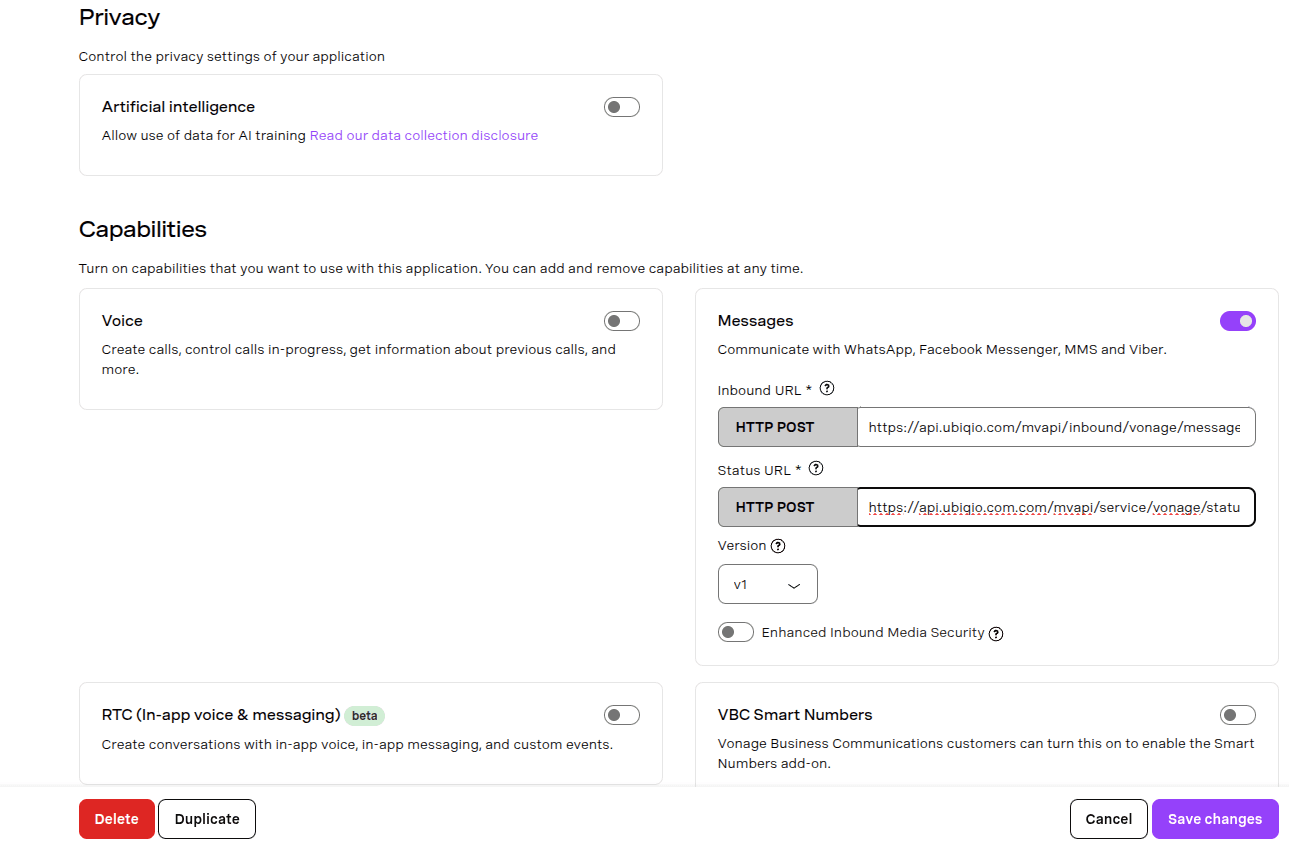
Enable the Messages Capability
Enable the sending of messages via this application by toggling the switch in the messages box. Enter the following inbound and status URLs.
Inbound URL: https://api.ubiqio.com/mvapi/inbound/vonage/message
Status URL: https://api.ubiqio.com/mvapi/service/vonage/status
These URLs allow Vonage to communicate with Ubiqio and route messages seamlessly to your application.
Save your changes! Your Vonage application is now fully configured. You are now ready to create the Vonage connector in the Ubiqio console.